
Budget Minded, But Corners Are Still Sharp
Custom PC Build | Cost: $1,100
AMD Ryzen 5 1600 | NVIDIA GeForce GTX 1080 Ti | 16GB DDR4 | 1 x 512TB NVMe SSD | 1 x 1TB 2.5” SSD
Building a PC to the spec a client requests based on a budget and use case is what I thoroughly enjoy doing. It keeps me on my toes, especially in a tough time to build PCs in general. Even this far into the year, the chip shortages are still impacting overall availability for key components like graphics cards and certain CPUs. Even so, more and more people are expressing interest in making the switch to a new PC, whether it be for work or for play.
This build in particular was set to be a budget-minded build with parts that were meant to be readily available and affordable. The primary purpose? Gaming. The budget? About $1,100.
I normally like building around a GPU that I can get my hands on, but obviously we’re still seeing sky-high prices and stock shortages on the 30-series NVIDIA units, and even the 6000-series AMD cards. I’ve been lucky enough to get a chance to buy a new unit in a certain lottery-based purchase system, but that just wasn’t gonna cut it for this build. Luckily, I had a spare card on hand - my trusty 1080 Ti.
Yeah, the 1080Ti is several years old now, but this card in particular hasn’t been abused very much and can still hold its own even against the 30-series cards. So the EVGA GeForce GTX 1080 Ti SC Black Edition became the center of the build.
A familiar case also makes an appearance - the Corsair 4000D Airflow. The case I’d be using would be from the main PC build that I had set up last year, since I was planning to switch most of the components over to ITX-sized variants to downsize my main build.

Since it’s a budget build, I wanted to form it around AMD’s Ryzen architecture for a good price-to-performance ratio. For the motherboard, I wanted something that was affordable but still some overclocking potential in case the client wanted to push the CPU a little bit down the line. I figured a B450-based board would be more than enough for the build, so I went with the Gigabyte B450 Aorus Pro Wi-Fi. I wasn’t entirely sure if the Wi-Fi connectivity was needed for the build, but the availability of Bluetooth does come in handy for wireless setups. I had previously used a similar board in one of my first builds, the B450 Aorus M, and was satisfied with its performance - so this was a no-brainer.
As for the CPU, I was actually planning to use the unicorn-of-a-chip Ryzen 3 3300X for the build - but apparently I had waited a day too long as the stock dwindled away and it was removed from my cart. If there’s one thing about this build that made me salty - that was it. So I went with the next best thing, the Ryzen 5 1600. This chip in particular is a bit old now as well, but since it was the AF model, it was produced on the 12nm architecture. Basically, it’s a Ryzen 5 2600 with slightly cut-back clock speeds - which made it perfect for this budget build.

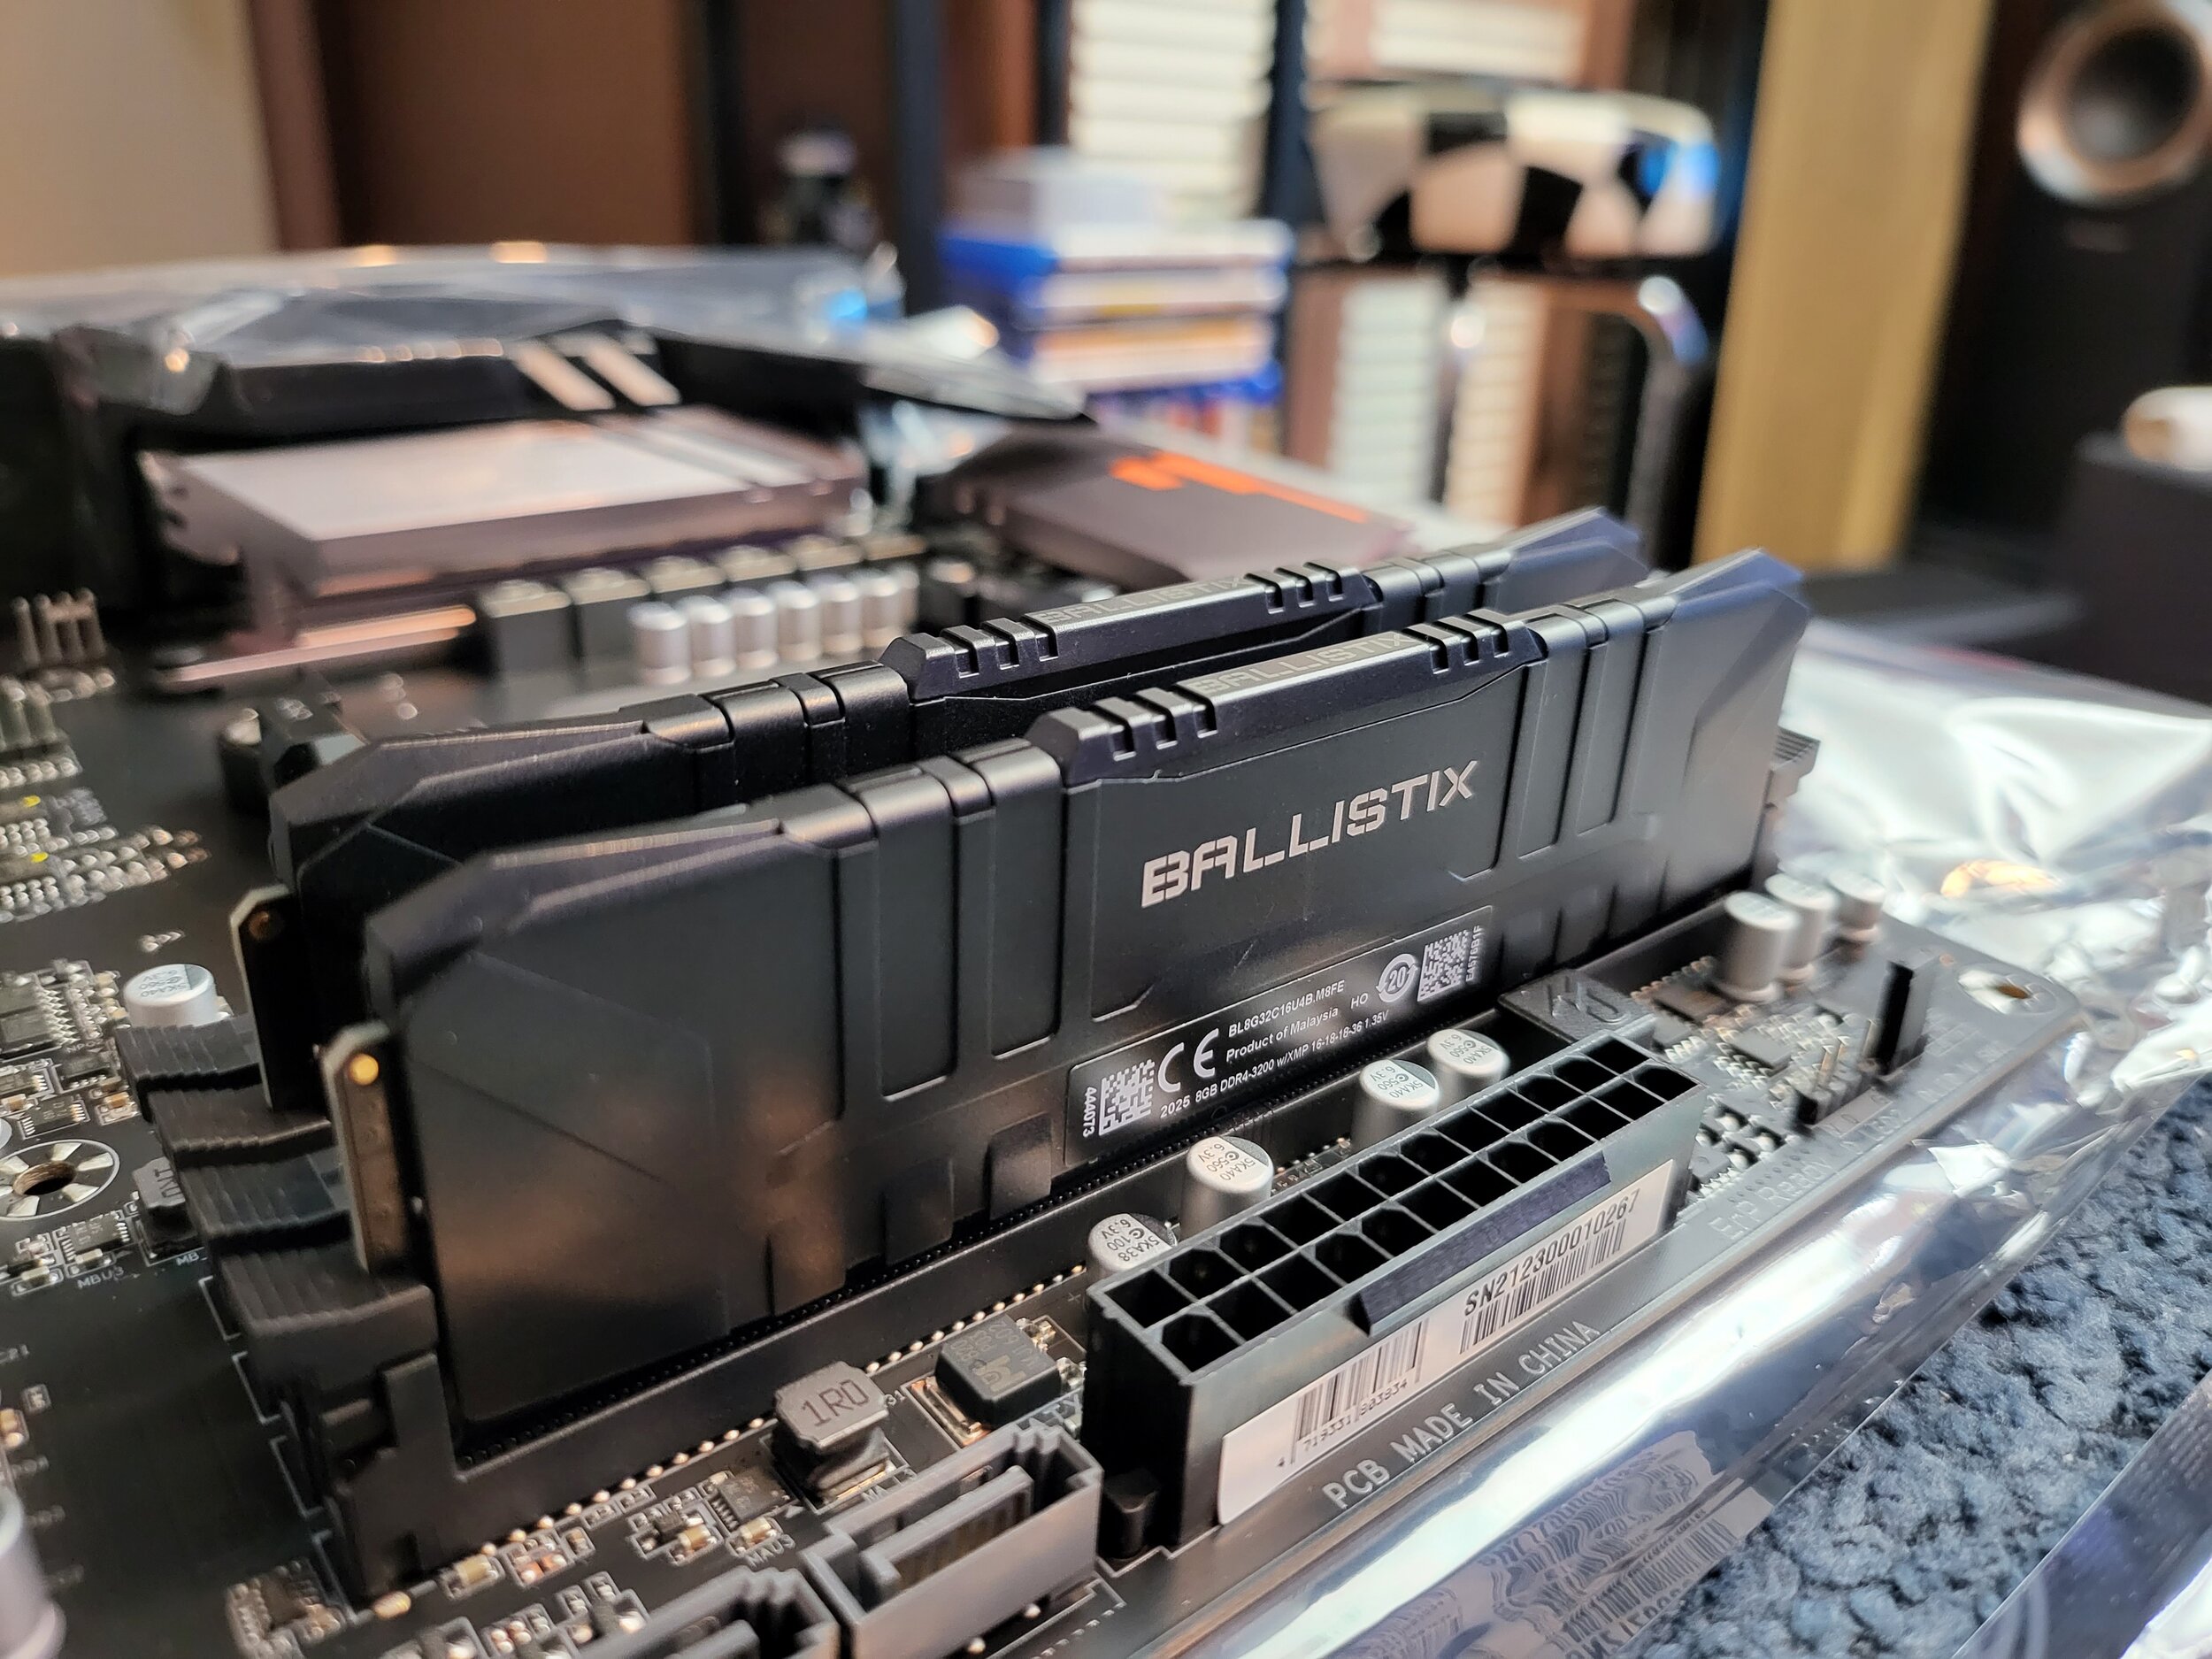
For memory, I went with 16GB via Crucial’s excellent Ballistix 3200 MHz DDR4 2 x 8GB kit. These sticks are very reliable and XMP has always worked flawlessly when set up in the BIOS of the motherboard. Plus, I had a set laying around after switching parts out from my main PC. As for storage, I wanted to set up the PC with two separate drives to keep things running smoothly. The main boot drive is a Team MP33 512GB NVMe drive with decent speeds at its budget pricing, while the data drive is a Team T-Force Vulcan G 1TB 2.5” SSD unit. The idea is that most essential programs and primary games could be placed on the boot drive while the secondary drive can take up more excess data.
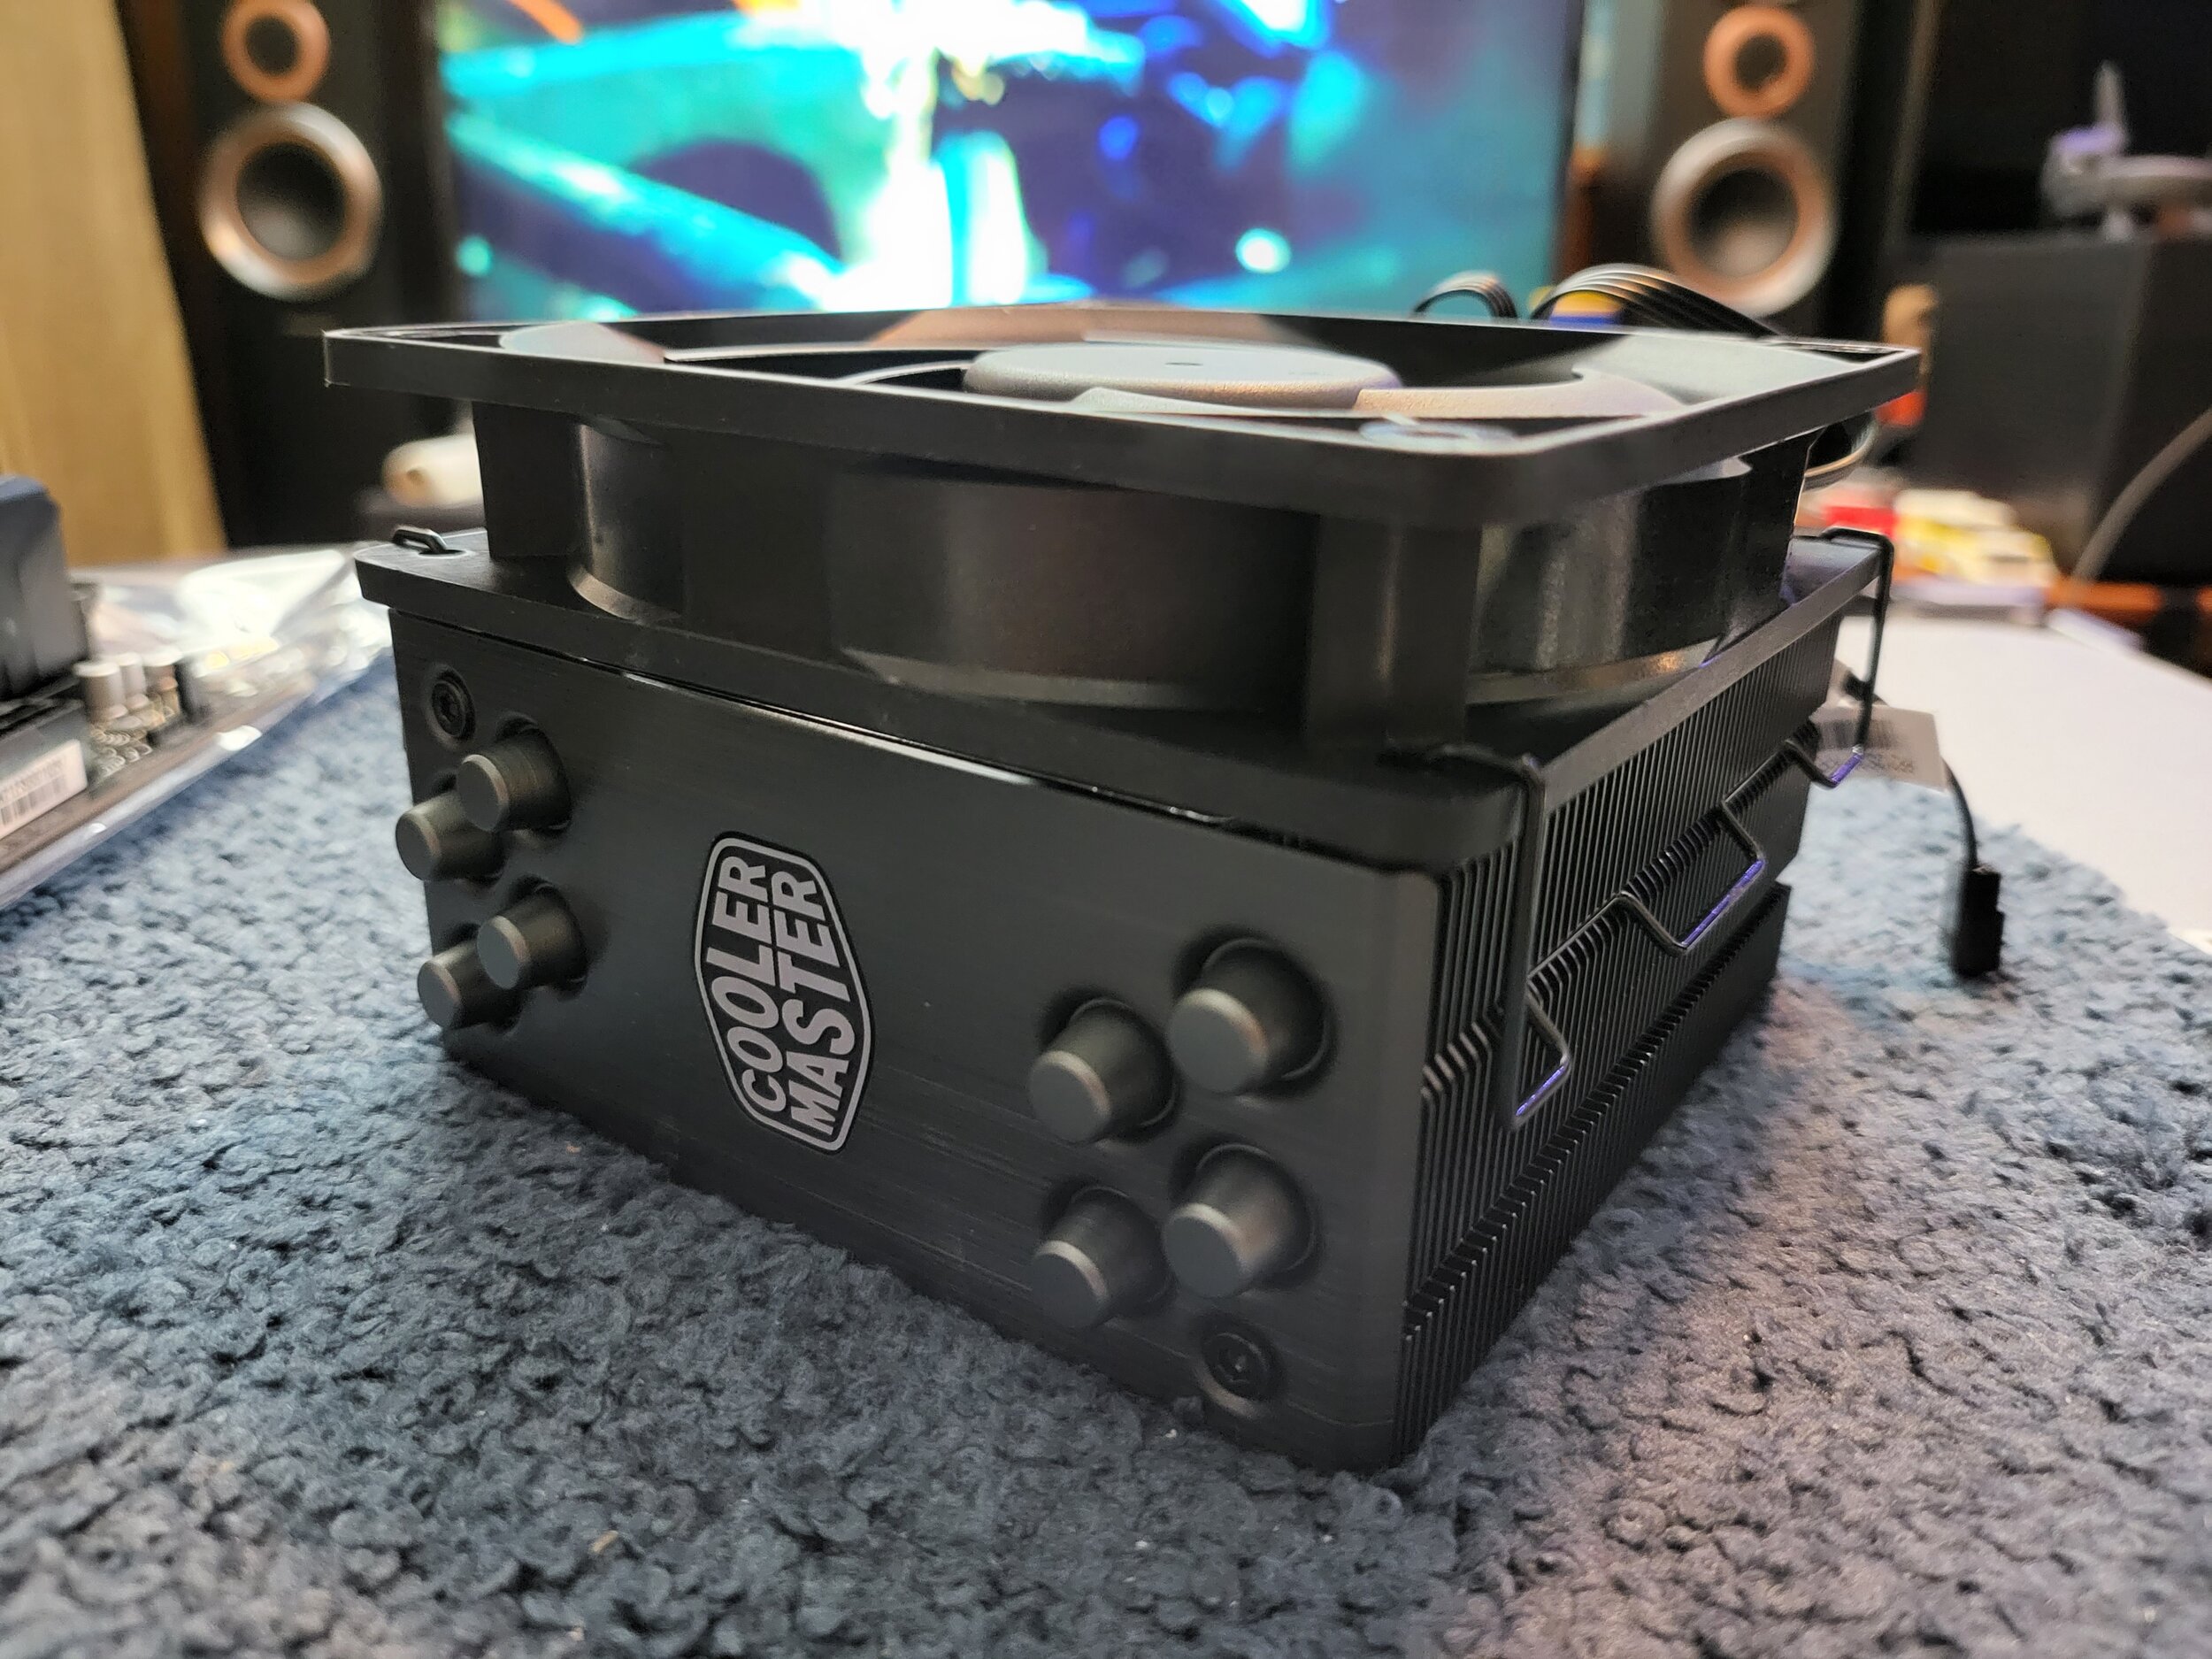
To cool the CPU, I went with one of my favorite budget coolers - the Cooler Master Hyper 212 Black Edition. This tower cooler performs admirably, and when equipped with both push and pull fans, it can cool some of the hottest CPUs out there. The Ryzen 5 1600 isn’t all that hot of a CPU, but I figured I would throw this into the build in case some overclocking was desired in the future. I ended up using the included Silencio fan as the puller and used one of the fans from the PCCooler kit that I chose for the build as the pusher. From testing, this setup seems to work well and keeps CPU temperatures completely in check both at idle and under load.

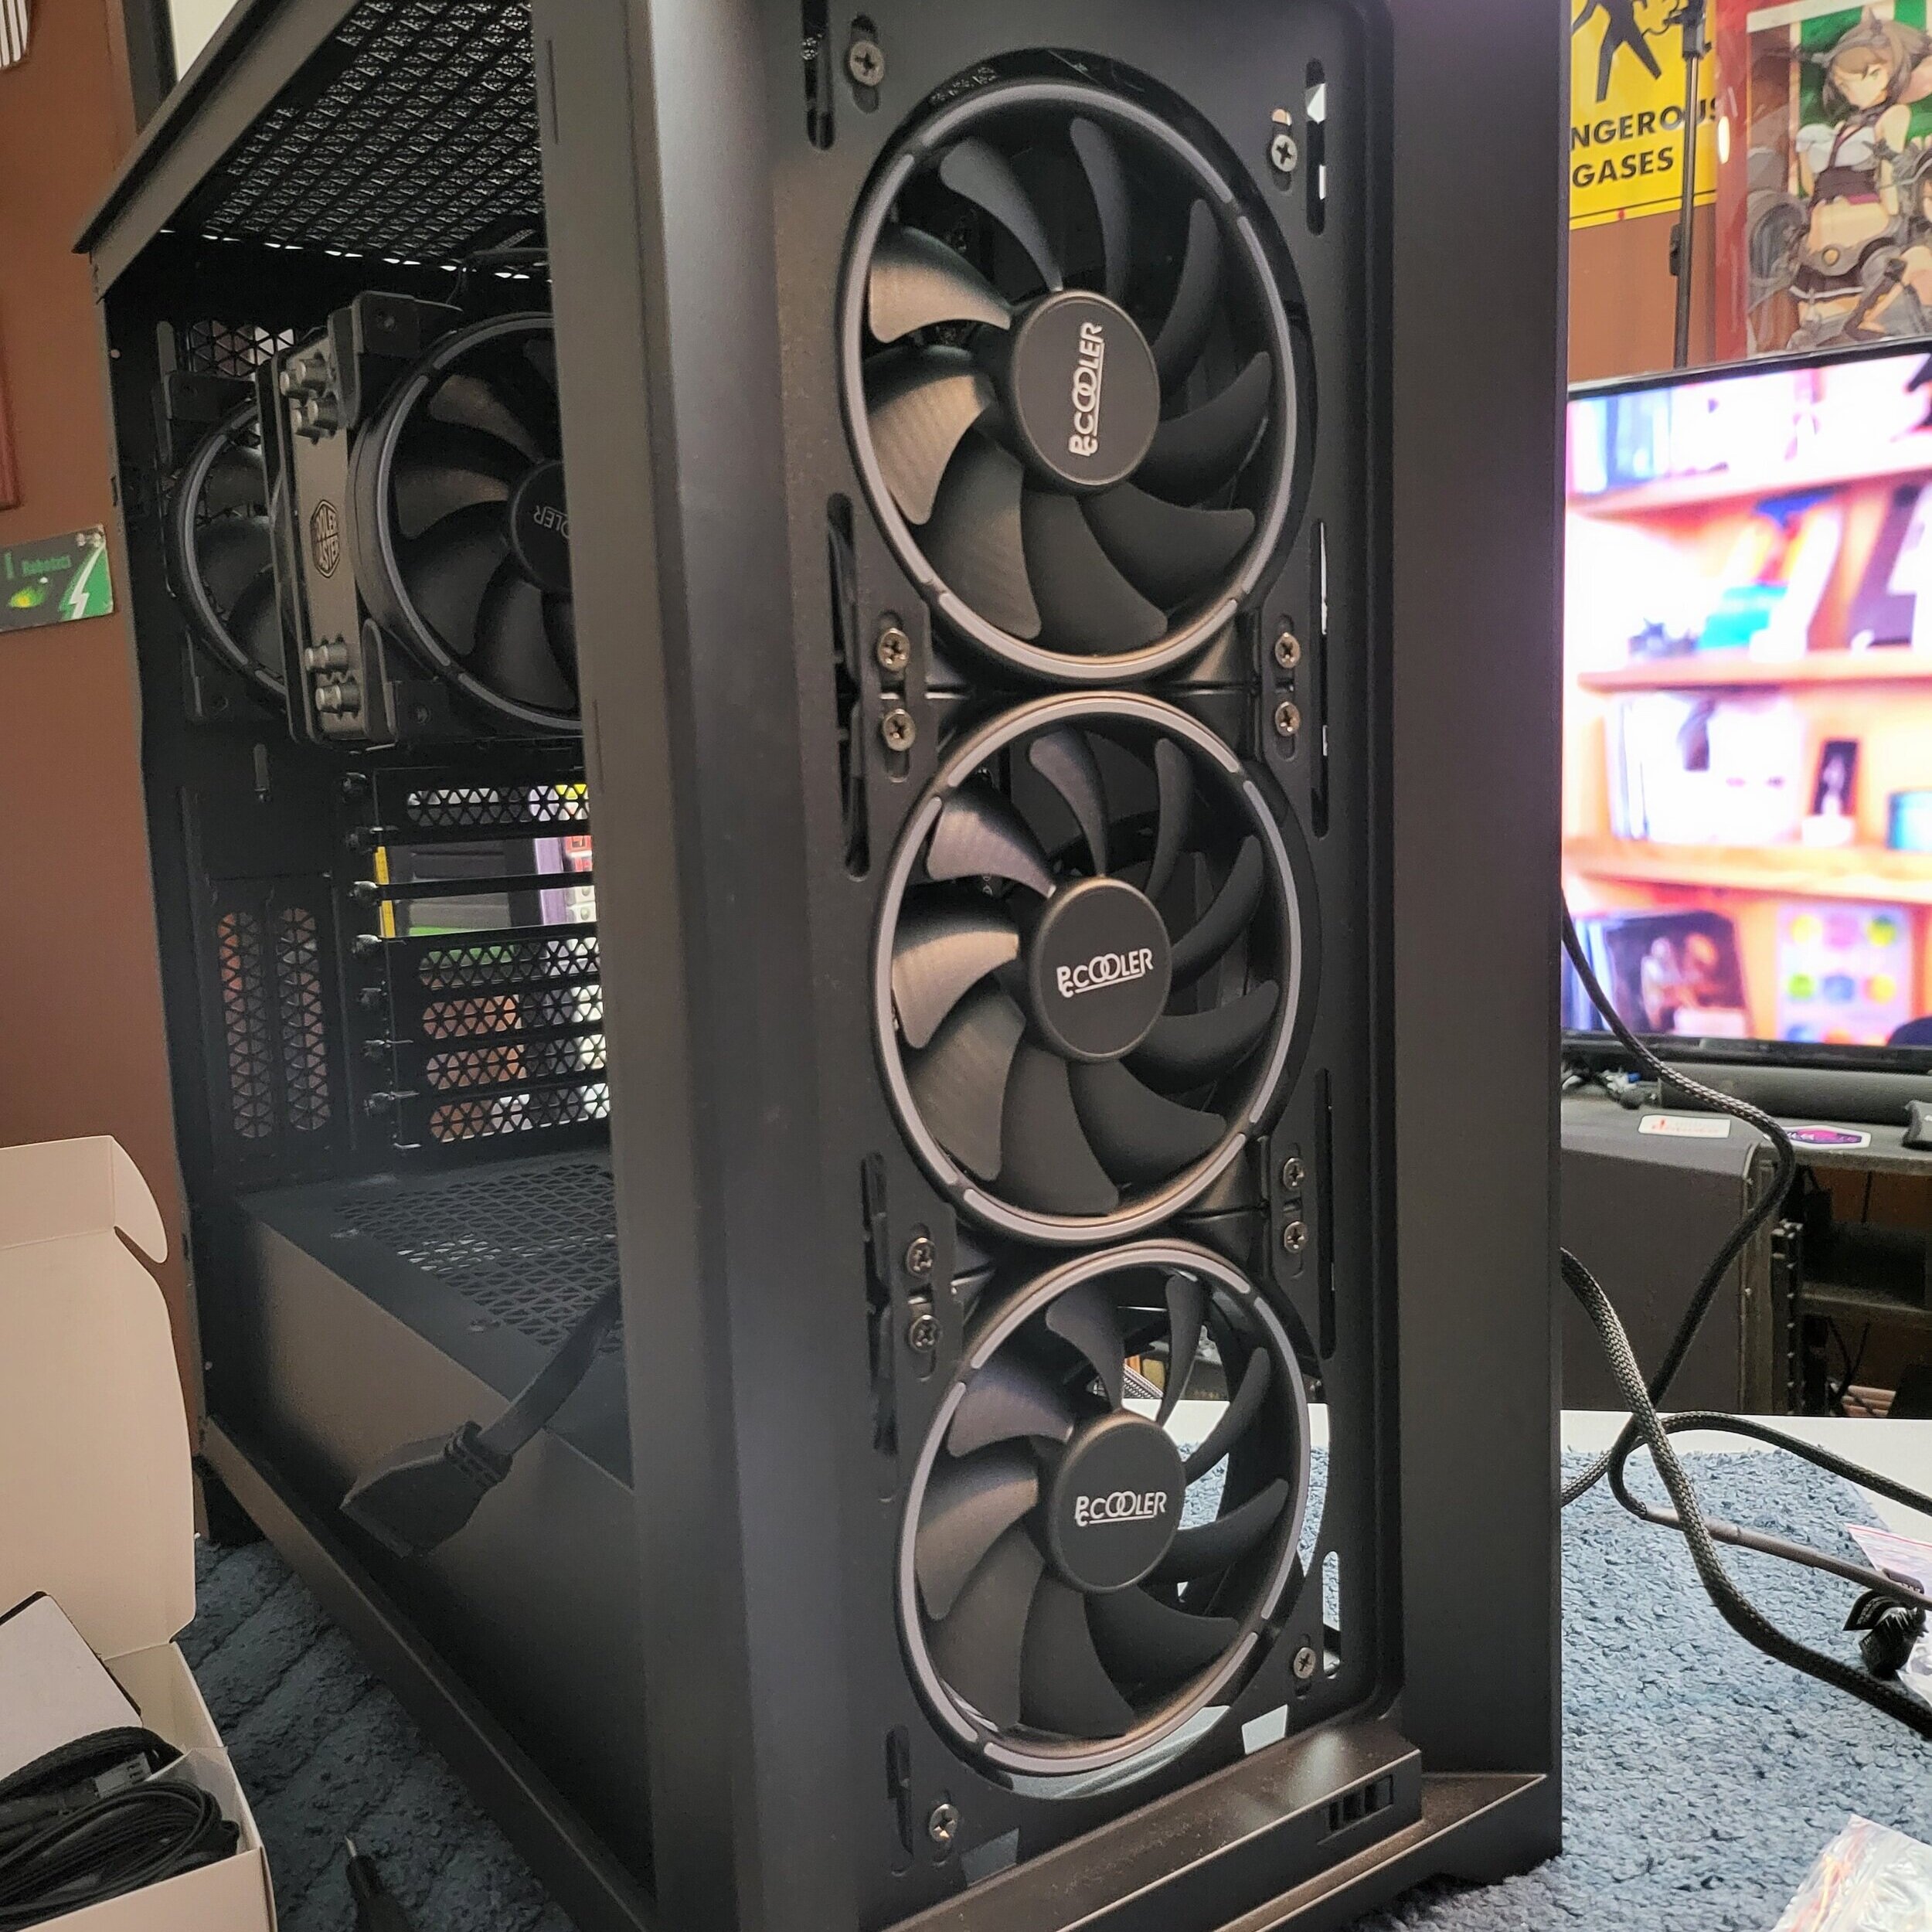
Ultimately, there isn’t a lot to say about this build. It was straightforward and had a clear purpose, but nevertheless I was pretty satisfied with how it came out and performed. With just a couple of bits and pieces to touch it up, like black cable extensions for the GPU, the interior was complete and neat. The fan kit performed as expected and are actually pretty exemplary for the price point. Hopefully this lasts the client a long time, and fulfills many fun memories!


